
Not every enthusiast build should become a track project. A car you commute in needs dependable starts, visibility in the rain, comfortable noise levels, and tires suited to your climate. This guide helps prioritize reversible and practical changes. Actual suitability depends on your model, condition, local laws, warranty terms and installer—not on somebody else's mod list.
The best first modification solves a problem you can describe and does not create three more.
Step 1 — Finish stage zero before stage one
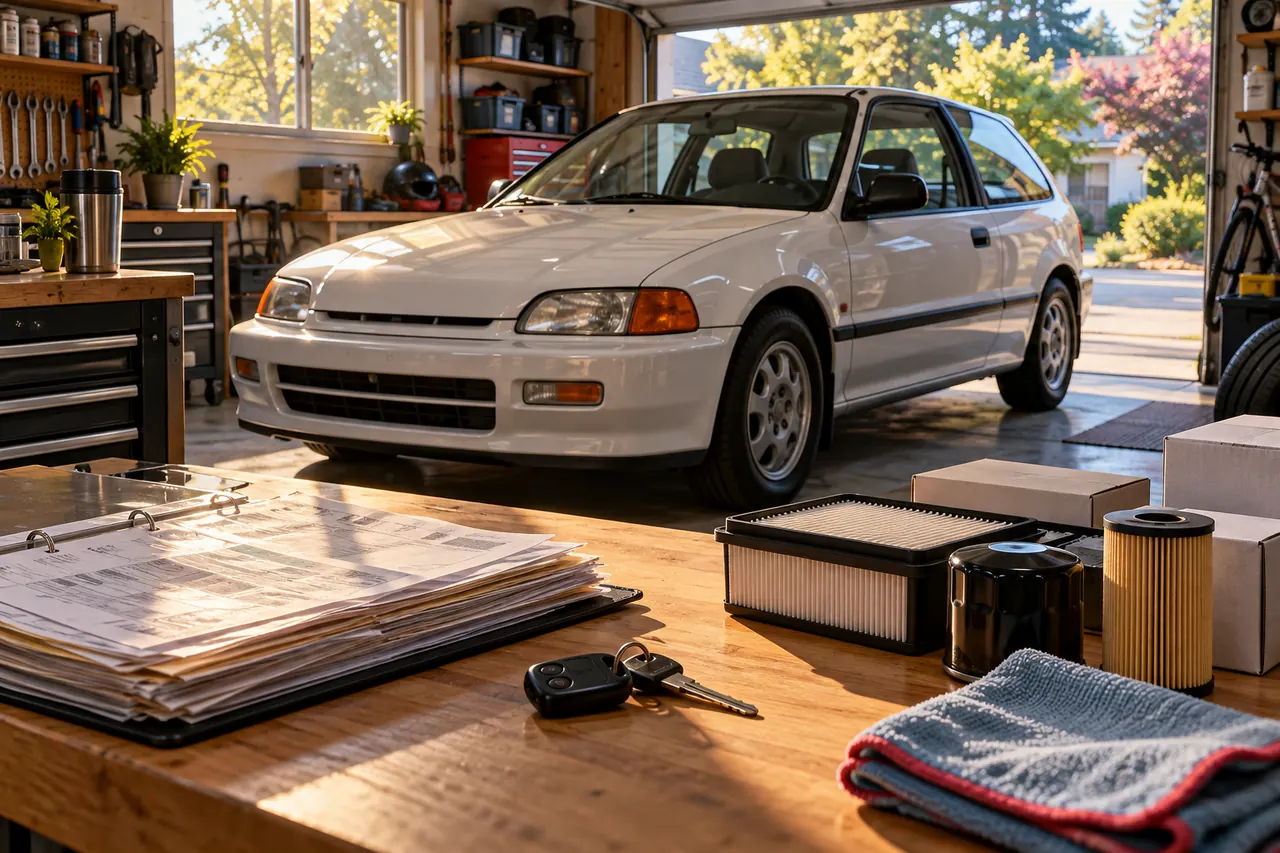
Use your vehicle's maintenance schedule and a qualified inspection to understand brakes, tires, fluids, suspension condition and any warning lights. A new exhaust or coilover kit will not fix deferred maintenance. Save baseline photos and the as-found alignment or tire specs where relevant. Define one driving irritation you want to improve: perhaps storage, poor visibility, harsh ride quality or worn tires. If you cannot state the problem, put the modification in the future-ideas column.
Step 2 — Upgrade the ownership experience first
Consider secure trunk organization, properly fitted floor protection, a good phone mount that does not obstruct visibility, and an appropriate dashcam setup. These can improve usability without changing engine output. Check that accessories cannot become projectiles or interfere with the pedals, seat belts or airbag deployment zones. Route any electrical accessories according to the vehicle and product instructions. If hardwiring is required, use a qualified installer.
Step 3 — Understand tires before wheels
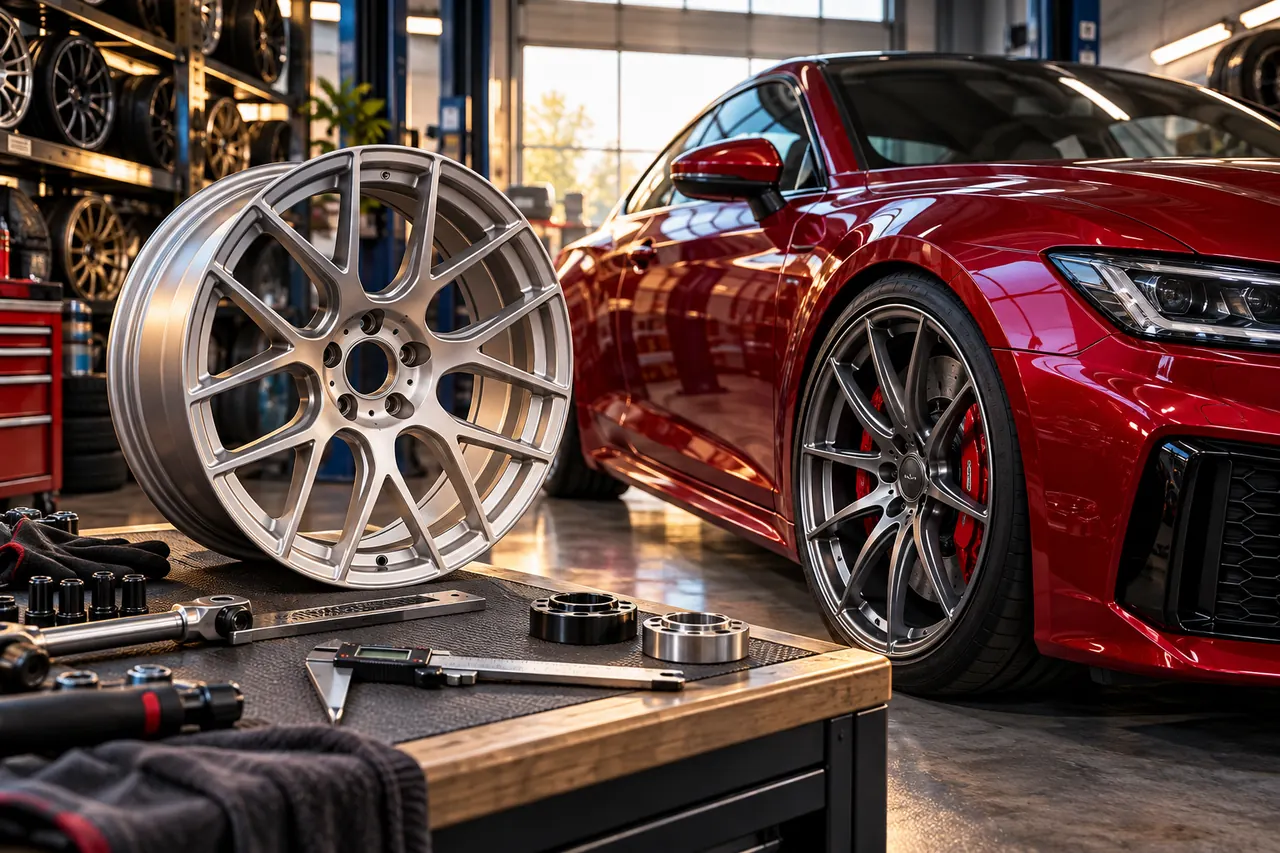
A tire suitable for your climate and daily driving can be a higher-value decision than a dramatic wheel design. Start with the manufacturer's approved tire size, load rating and pressure guidance, then assess your actual needs: wet traction, noise, comfort and durability. Never make fitment assumptions from a photo of the same body style. Different brakes and trim packages can change clearance. Keep tire age, pressure and tread checks in the routine after any wheel change.
Step 4 — Treat suspension as a system
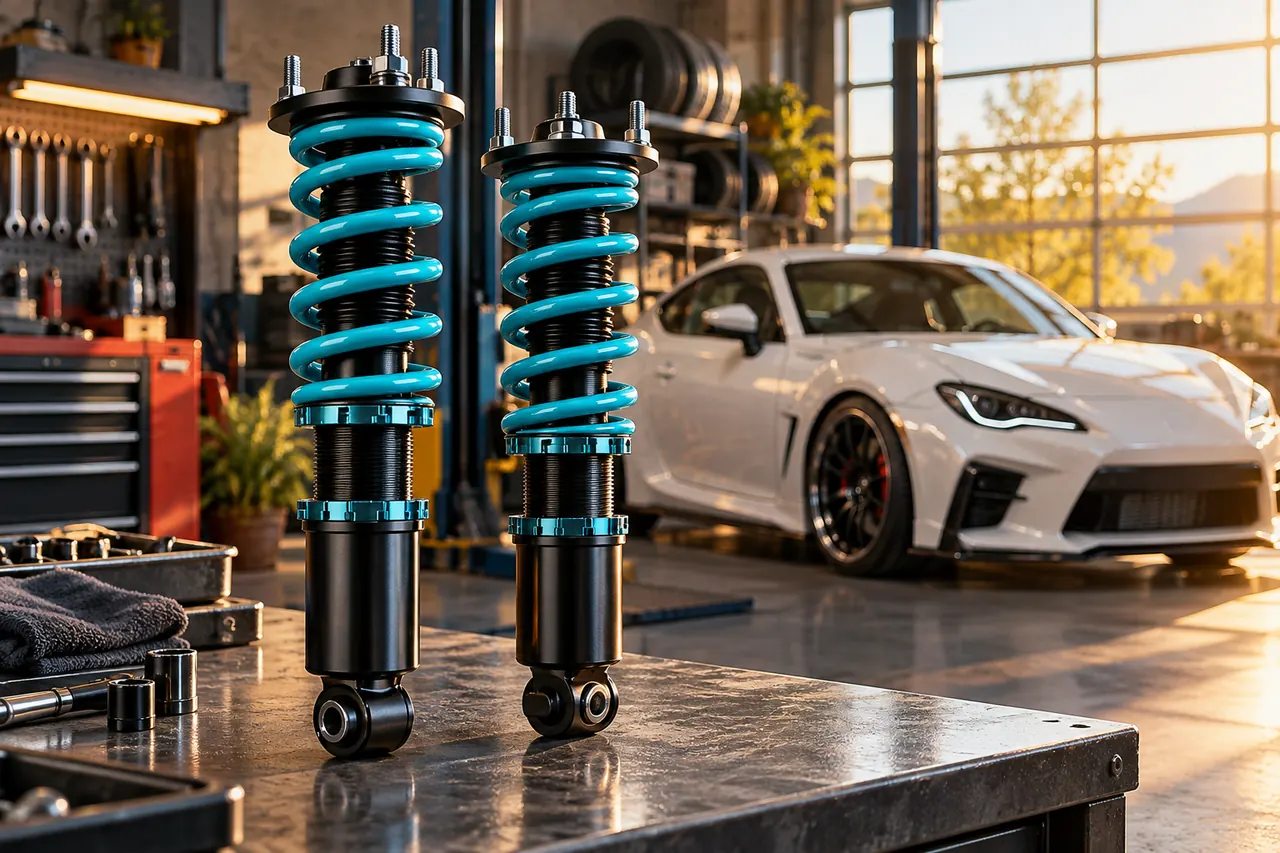
Lowering springs, dampers, wheels, alignment and tire clearance interact. A part that looks excellent on a show build may cause scraping or reduced comfort on a rough commute. Get an application-specific installation quote that includes alignment and any required supporting work. Ask about speed bumps, full steering lock and suspension travel. Do not alter safety-critical suspension or braking components based on an unverified internet recipe.
Step 5 — Choose tasteful sound and lighting
Cabin audio can be a satisfying upgrade if the wiring is safe and the sound does not distract the driver. Exterior lighting must remain compliant with applicable rules and retain required visibility; tinted lamps and decorative colors may be restricted. Exhaust changes can affect noise compliance and emissions equipment. Never purchase a 'delete' kit without understanding the applicable laws: EPA rules prohibit certain emissions tampering and defeat devices.
Step 6 — Make the total cost visible
For each idea, record part number, exact vehicle compatibility, purchase price, installation, follow-up alignment or calibration, insurance questions, maintenance implications and return conditions. Compare the complete job, not just the price of the part. If an upgrade changes driving behavior, take time to learn the car safely in ordinary conditions and within traffic laws. Keep original components and documentation when practical.
Step 7 — Build slowly, evaluate honestly
After each modification, ask whether it improved the original problem or simply created something else to fix. Photograph and log the result. If you are considering engine tuning, brake conversions or major electrical changes, get a qualified professional to explain emissions, road legality, manufacturer requirements and failure risks before making plans. A coherent daily-driver build is often the one that stays reliable enough to enjoy.
A couple of good questions
Are wheel spacers a good first modification?
Only after application-specific engineering and fitment advice. Do not choose them just to copy a photo.
Can I remove emissions equipment for a performance gain?
EPA rules restrict emissions tampering and defeat devices. Get compliant professional advice rather than assuming a part sold online is legal for street use.
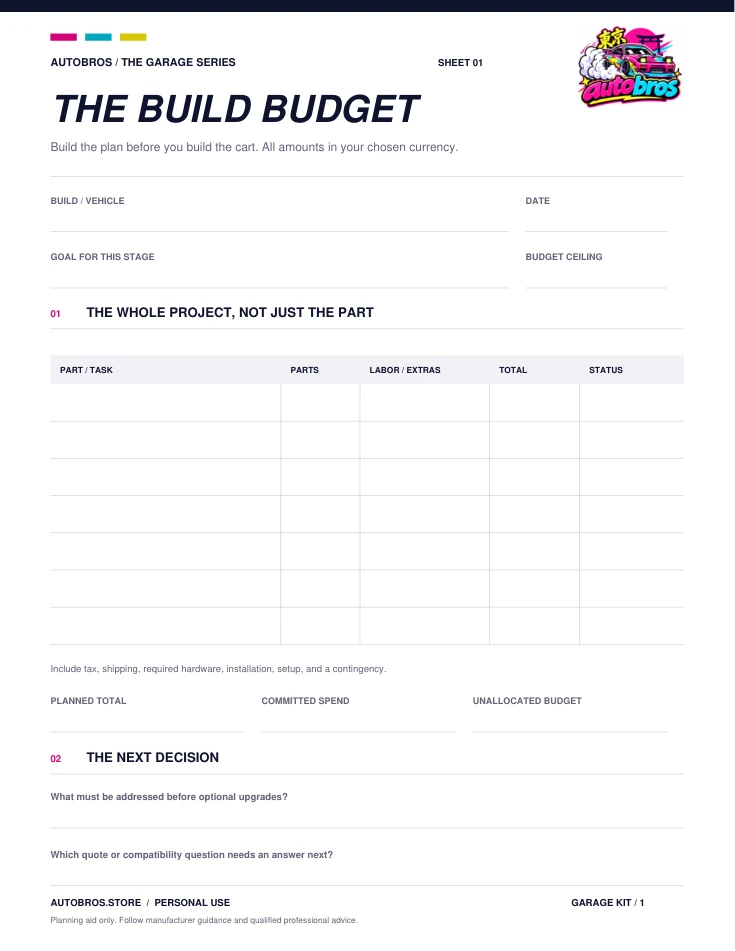
The build budget
Parts, labor, quotes, actual spend, and a little breathing room.
Fill in the free worksheet Blank PDFReferences & further reading
Sources reviewed October 24, 2026. Product facts are manufacturer or retailer information, not an Autobros test. Confirm current instructions before acting.
FTC — Auto repair basics and manufacturer maintenance schedules NHTSA — TireWise: tire pressure, tread and maintenance U.S. EPA — Aftermarket defeat devices and emissions tampering