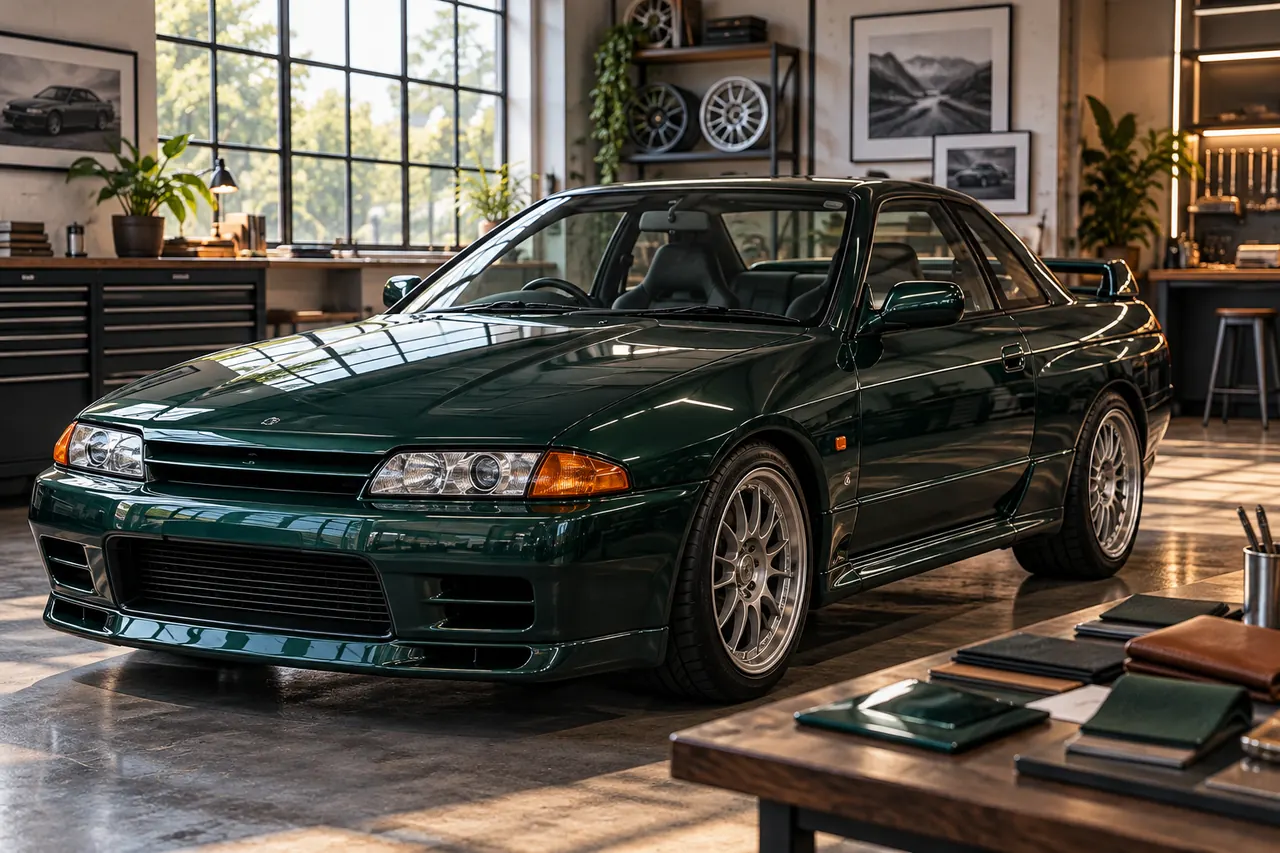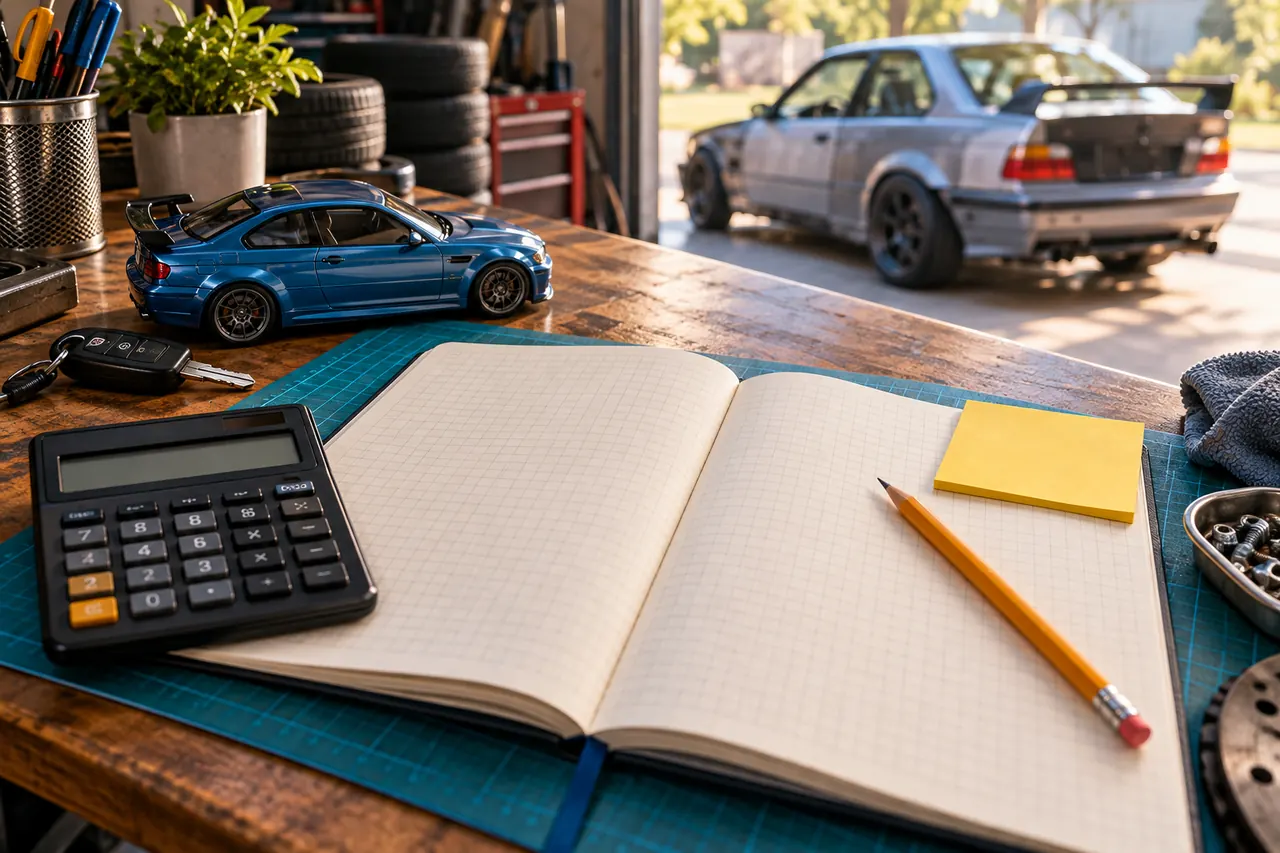
A build is easy to recognize when its choices speak the same design language. Random accents, wheel finishes and decals often compete for attention even when each item looks good on its own. This framework is for a daily driver, project car or show-inspired build. Use it to choose an appearance, not to bypass fitment, mechanical inspection or local rules.
Give your build a visual point of view before you order parts; consistency can do more than volume.
Step 1 — Describe the personality in three words
Pick three adjectives that work together, such as 'clean, mechanical, understated' or 'retro, playful, colorful.' Save three reference cars that demonstrate the mood, but do not copy every part from any one of them. Write down the purpose of the car—daily commuter, weekend roadster, weekend event or photography subject—so the styling does not fight how you actually use it.
Step 2 — Choose a restrained visual palette
Use the existing paint or chosen wrap as the base. Add one supporting color and a small accent. Repeat that accent purposefully on details rather than scattering five competing colors across badges, decals, wheels and cabin trim. Think about the finish as well as the hue: gloss, satin, matte, brushed metal and textured plastic reflect light differently. Photograph sample materials outside before committing to a full vehicle.
Step 3 — Decide what should be the hero
Choose one visual focal point: wheels, a graphic treatment, a wrap color or a distinctive interior. Supporting elements should make the hero stronger, not shout louder. For example, a striking paint or vinyl finish might need simpler wheel spokes and smaller decals. A subdued exterior might let carefully selected wheels and a restrained interior accent do the talking. A concept board can reveal conflicts before purchases do.
Step 4 — Mock it up before cutting vinyl
Take level side, front and three-quarter photographs of your own car in consistent light. Layer prospective wheel colors, accent stripes and decal placements in a simple image editor. Keep the vehicle's actual panel lines and sensor locations visible. Print or view the mockup at ordinary screen size, not just zoomed in on the graphic. Check the design from several distances. If a mockup feels too busy, remove one element before buying anything.
Step 5 — Keep fitment and legality separate from aesthetics
A mockup cannot prove wheel clearance, load suitability, lamp compliance or aerodynamic performance. Confirm each modification with the proper technical data, installer and local requirements. Vinyl must not block lighting or safety equipment, and darkened glass has legal limits. Avoid treating social engagement as evidence a modification works. Record quotes and install implications before deciding that a look is achievable.
Step 6 — Budget in phases and evaluate one change at a time
Make Phase 0 condition and cleaning; Phase 1 low-cost reversible accents; Phase 2 the hero upgrade after written fitment checks; and Phase 3 optional professional work. Leave room for installation, cleaning products and unexpected maintenance. Keep 'must do,' 'nice to have' and 'not for this build' columns. After each change, take fresh photos and decide whether the original three words still describe the result.
Step 7 — Create your build story
Save one set of clean before-and-after images, the actual part numbers, installer names, paid invoices and any application instructions. Write a short caption explaining why you chose each component. A documented build is more useful to the next owner, another enthusiast and your future self than a list of impressive-sounding parts. Leave room for the project to evolve instead of making every choice permanent.
A couple of good questions
How many colors should a first custom build use?
There is no hard rule. A base color, supporting tone and one accent are a useful design constraint for beginners.
Should I buy wheels or the wrap first?
Decide the visual theme first, but assess mechanical condition and confirm wheel fitment and total cost before ordering either.
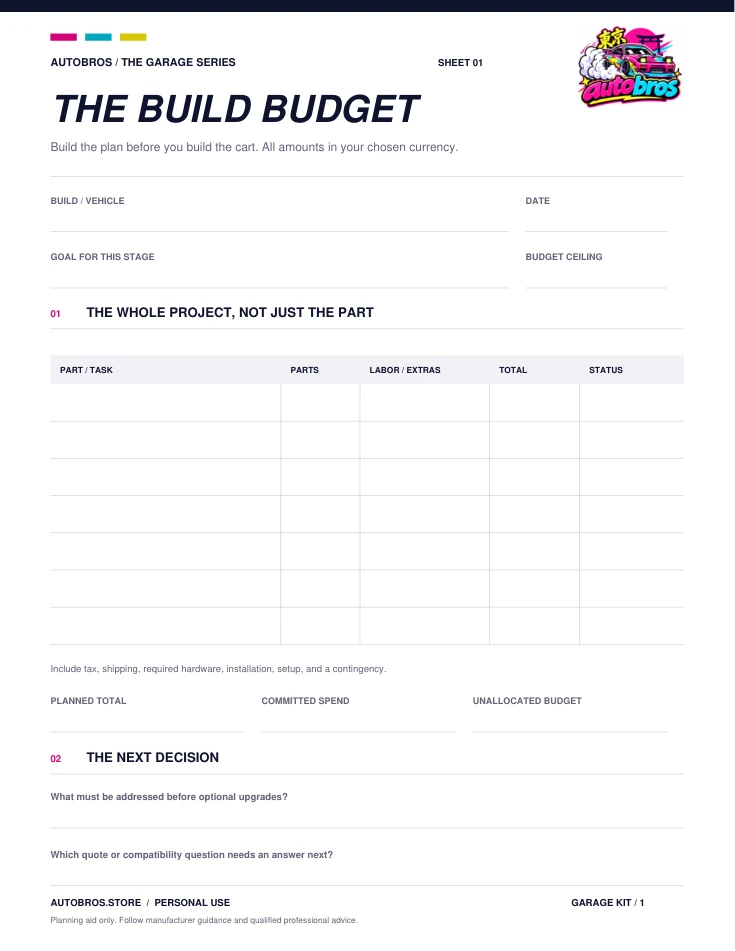
The build budget
Parts, labor, quotes, actual spend, and a little breathing room.
Fill in the free worksheet Blank PDFReferences & further reading
Sources reviewed October 24, 2026. Product facts are manufacturer or retailer information, not an Autobros test. Confirm current instructions before acting.
2026 Florida Statutes §316.2953 — Front side windows