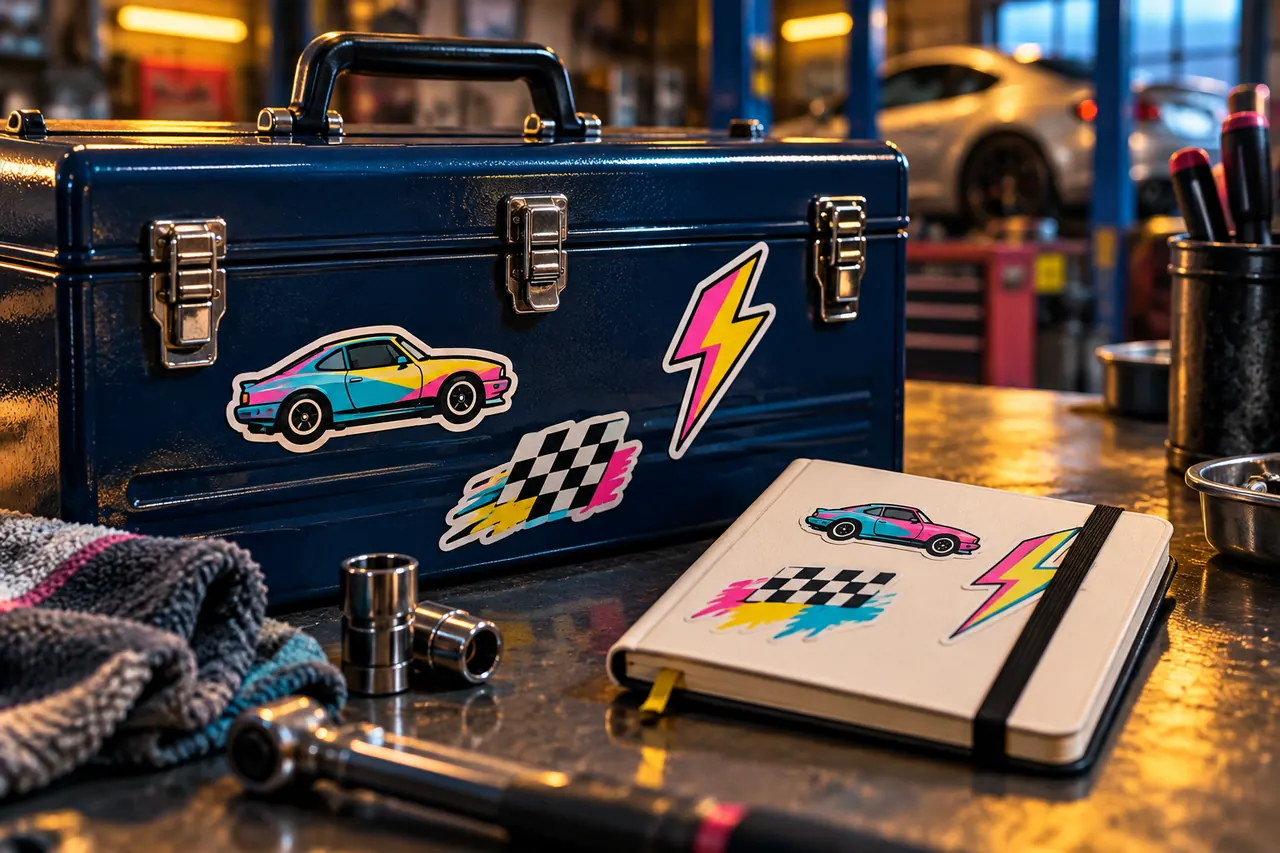

A good decal can make a car feel like yours without committing to an entire wrap. A rushed decal can leave trapped dust, crooked placement and damaged paint. This is a planning-level walkthrough for small, flat-surface exterior graphics. Large vehicle wraps, complicated curves, graphics over deteriorating paint and installations near windows or sensors are better handled by a qualified professional.
Start small, use the actual vinyl manufacturer's application method, and never put decoration where it affects safe visibility or equipment.
Step 1 — Choose the material and the job
Buy vinyl intended for the vehicle surface and exposure you have in mind. Confirm whether it uses transfer tape, a repositionable adhesive or an application method specified by the maker. Check compatibility with original paint, repainted panels and any existing wrap or coating. A generic sticker may not have the durability or removability of a vehicle graphic. Start with a simple, small design on a sound, flat painted panel rather than a bumper with deep contours.
Step 2 — Find a safe location
Mock up the placement with low-tack tape, then stand several feet back to check balance and readability. Keep decals away from lamps, license plates, mirrors, cameras, radar sensors, airbag deployment areas and moving panel gaps. Do not place them where they obstruct the driver's sight line. Window film and perforated graphics are a separate product category with legal and technical rules; do not treat windshield or window applications as ordinary stickers.
Step 3 — Check the paint before cleaning
Examine the panel for peeling clearcoat, fresh repairs, lifting paint, corrosion or damage. If the paint is weak, pause: adhesive removal can pull on it. If the surface is sound, wash and dry thoroughly and use only the surface preparation method approved by the vinyl manufacturer. ORAFOL stresses that moisture, dust, oil and grease can prevent adhesion. Do not use a harsh solvent simply because someone on a forum recommends it.
Step 4 — Dry-fit and create a hinge
Position the decal with its backing and transfer tape still in place. Use masking tape to form a straight alignment reference or hinge, then measure twice and compare the position from both sides of the car. If the graphic has multiple elements, check spacing before revealing any adhesive. Work in a clean, shaded location within the material's specified application conditions. A hot, dusty panel leaves little margin for a first attempt.
Step 5 — Apply slowly with the correct method
Use the dry or wet procedure explicitly specified for that film; these methods are not interchangeable. For a dry-apply decal with transfer tape, peel only the section of liner required by the material instructions and work gradually with an appropriate felt-edged application tool. Use overlapping strokes from the center toward the edges to push out air. Avoid stretching the film or touching the adhesive. If it folds on itself or picks up dirt, stop rather than trapping the problem permanently.
Step 6 — Remove transfer tape and inspect the edges
Follow the maker's timing and angle for lifting transfer tape; pull gently rather than yanking up the film. Inspect each letter and edge under good light. If the manufacturer allows heat, use the documented process; do not improvise with a powerful heat gun near trim or glass. Leave the graphic undisturbed for the stated cure period and keep the vehicle out of aggressive washing until the film's instructions allow it.
Step 7 — Plan for eventual removal
Record the film brand, application date and any paint repairs. When you are ready for a change, follow the product's removal bulletin or have a wrap professional handle it. Removal behavior changes with film age, heat exposure and paint condition. Do not scrape painted panels with metal blades or assume an old decal will come off cleanly. Remove it gradually and stop if the underlying finish shows distress.
A couple of good questions
Should I wet-apply every decal?
No. Use only the method specified for the particular vinyl and adhesive system; some graphics are designed for dry application.
Can I put a decal over repainted bodywork?
Have a professional assess cure and adhesion first; weak or recent paint can be vulnerable when adhesive is removed.
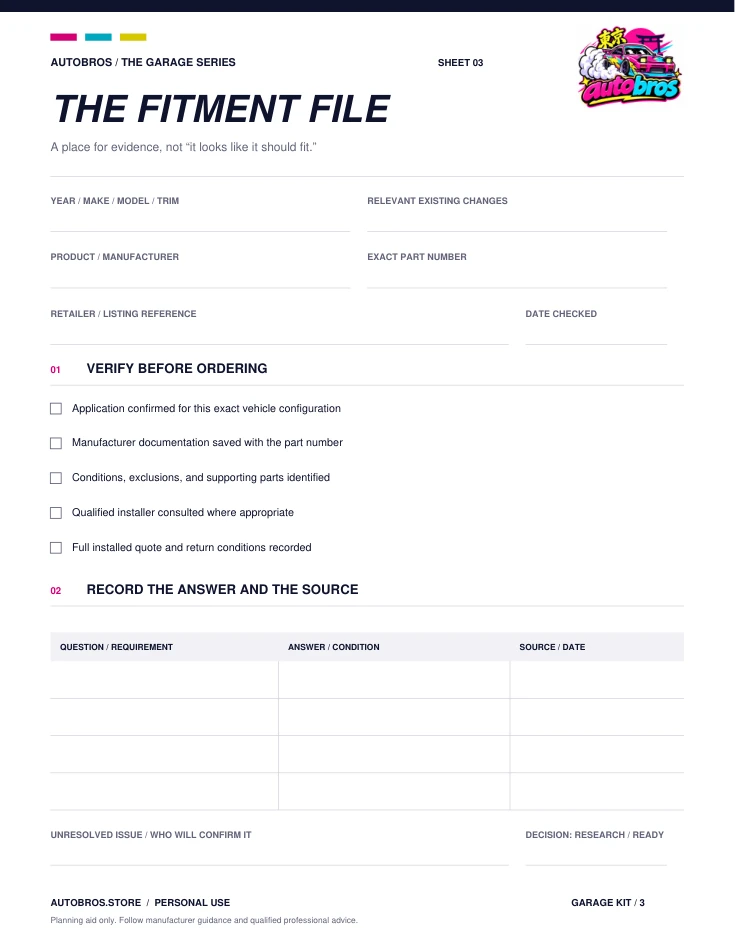
Fitment research sheet
One place for part numbers, compatibility questions, and sources.
Fill in the free worksheet Blank PDFReferences & further reading
Sources reviewed October 24, 2026. Product facts are manufacturer or retailer information, not an Autobros test. Confirm current instructions before acting.
ORAFOL — Vehicle graphic preparation and care support 2026 Florida Statutes §316.2952 — Windshields 3M — Vehicle wrap questions and maintenance